Help for Administrators
Table of Contents
Manage users
User roles
There are five different levels of access that can be assigned to users: Administrator. Author. Contributor. Viewer/Analyst. Custom. The functions available to each role are outlined below. As an Administrator, when assigning a role to a user, you can define their access levels and whether they have permission to make submissions. Administrators have the ability to create a custom role for their organisation if none of the default roles suit. To create a custom role, toggle the permissions you wish to enable for that role. They will appear green if that function is active. Manage organisation: This includes permissions to manage the organisation profile and user access. View organisation profile: This includes permissions to view the organisation profile and user access. Edit items: Changing submission ownership/user is restricted to users with Administrator roles. View items: Users with Create / Start Items and Edit Items permission automatically have access to view submissions. Submit items: This permission needs to be further configured on an individual user level. Go to the Users tab and select Edit user to set this permission.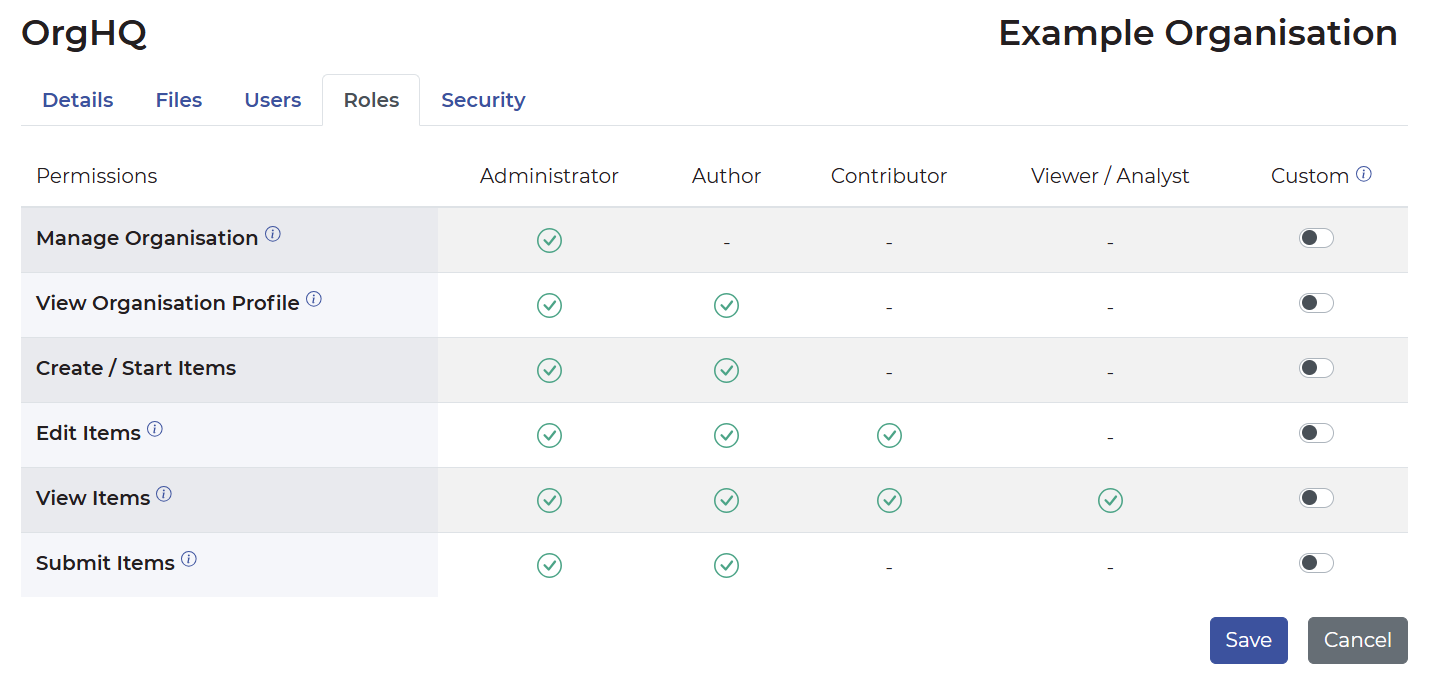
About permissions
Add, edit, approve or remove users
To see a full list of users in your organisation, select My Organisations, then select the name of your organisation. Then, from the OrgHQ page, select the Users tab.
MFA
As an extra layer of security, you may require all users who belong to your organisation/s to use an authenticator mobile app (such as Google Authenticator or Authy) each time they log in. Only an Administrator can enable or disable this setting.
Once MFA has been enabled for your organisation, when a user next logs in, they will be greeted with the Multi-Factor Authentication Setup screen, as shown below. Once they complete this setup, they’ll be prompted to enter in a six-digit code from their authenticator mobile app every time they log in.
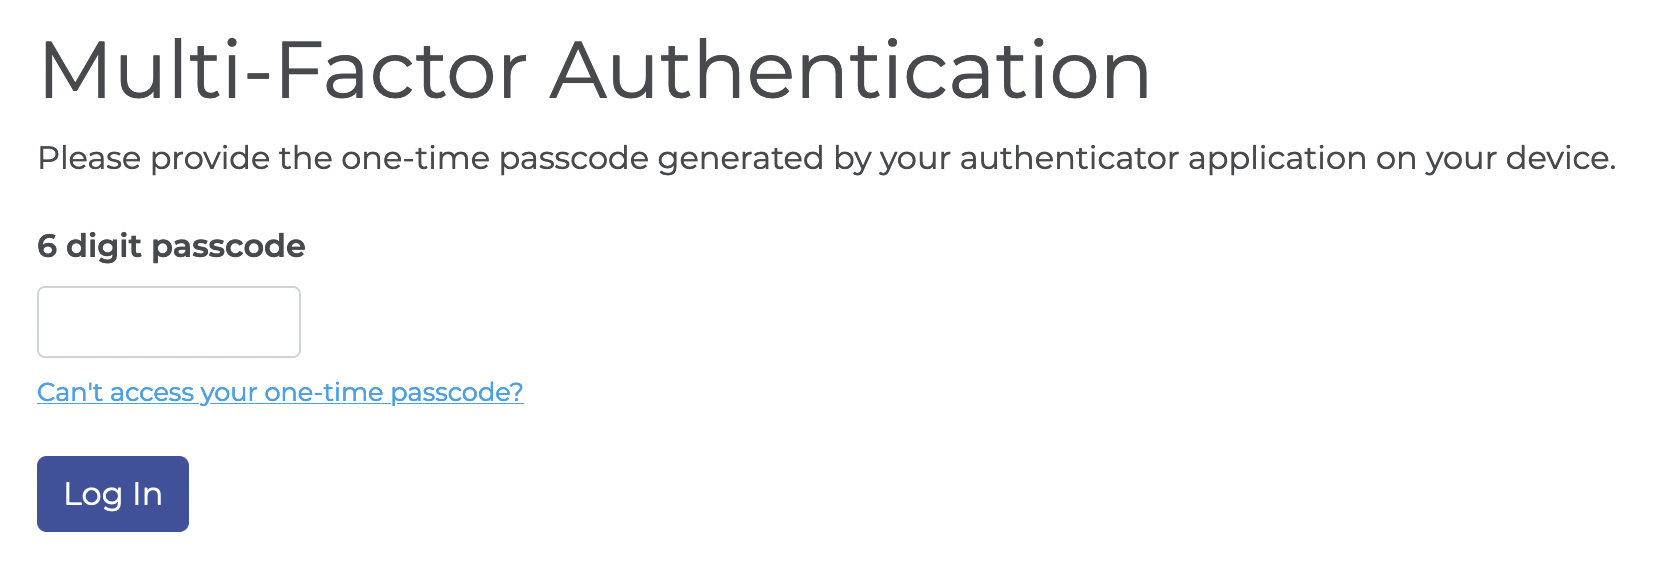
Once initial activation is complete, the following screen will show on every login, asking for a 6 digit passcode: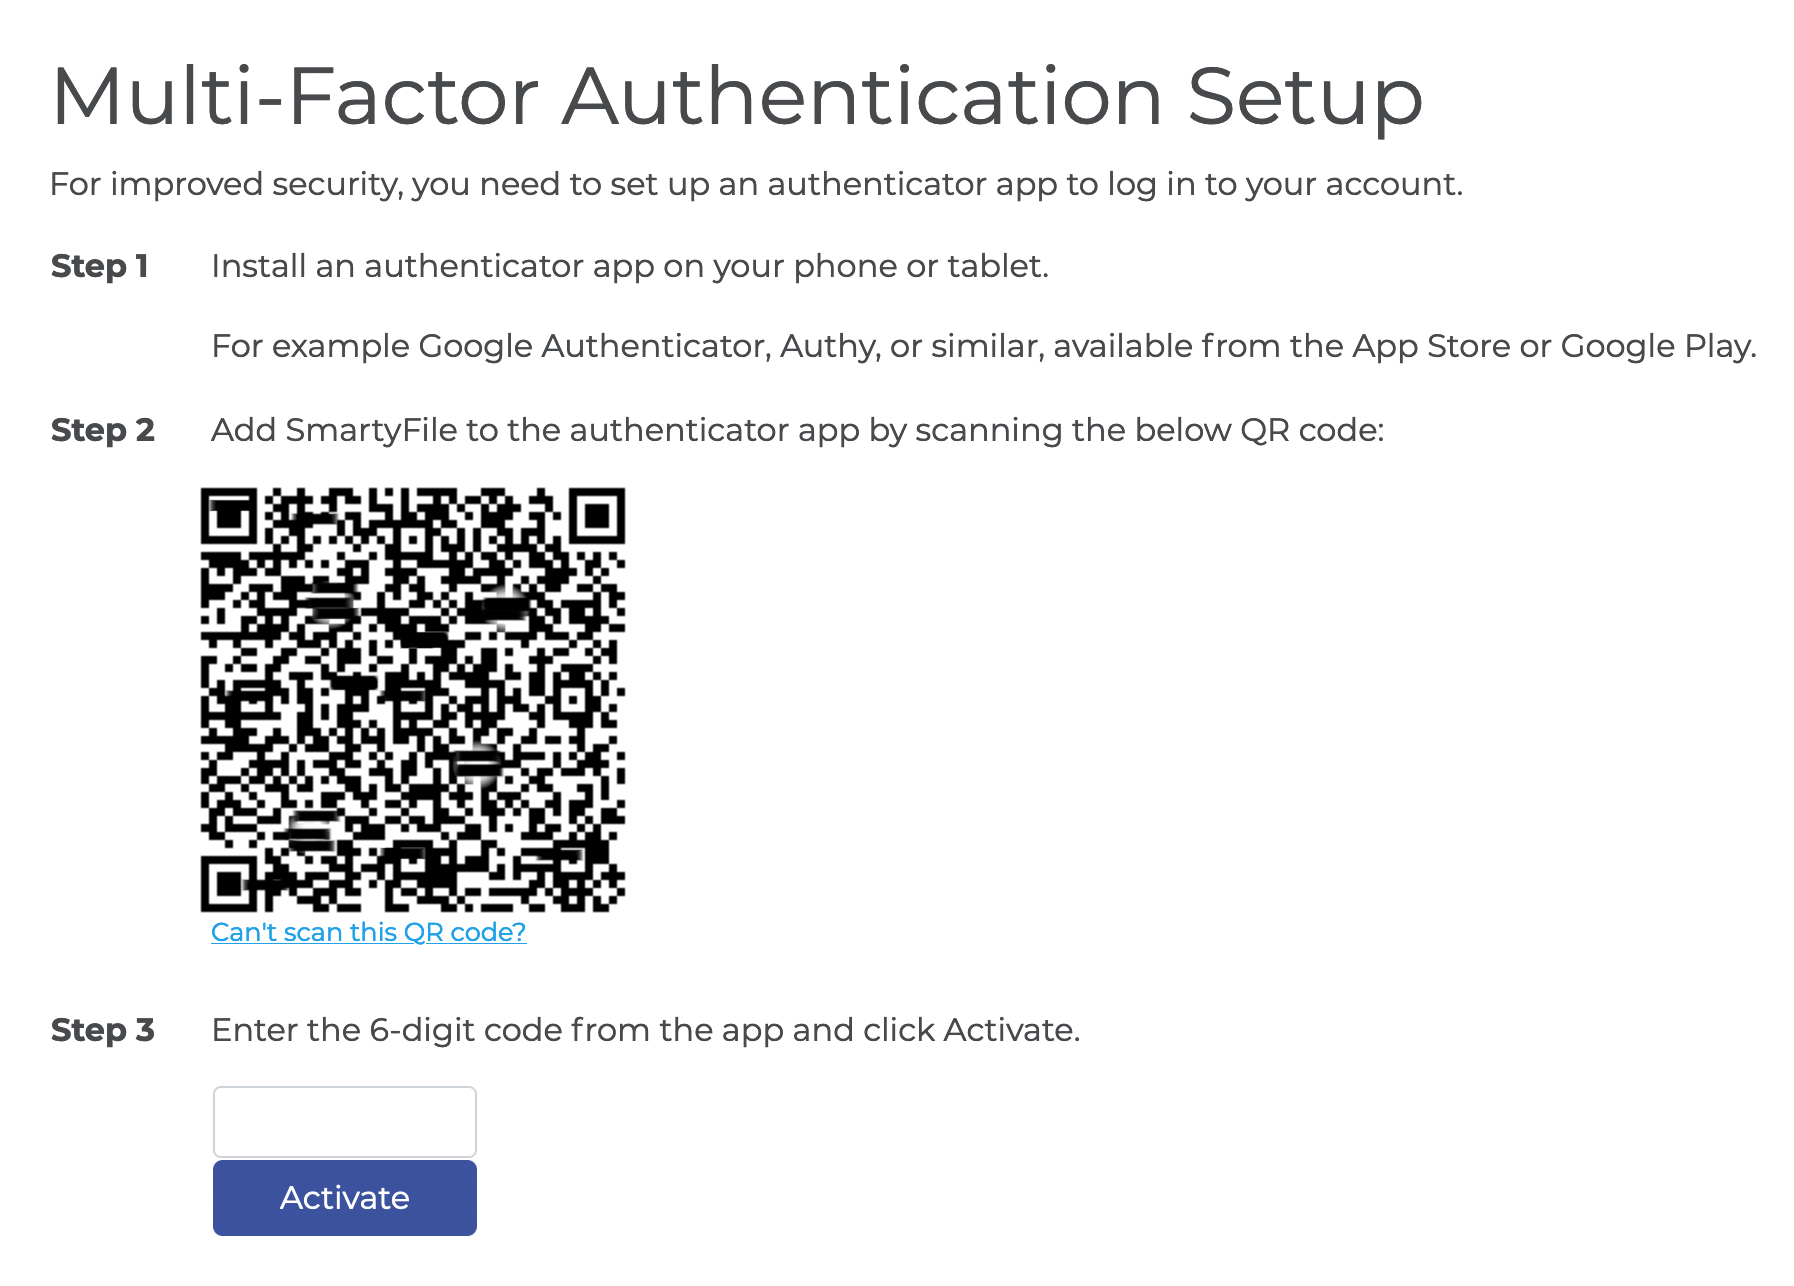
Enable MFA
To enable multi-factor authentication for all users: Under My Organisations, select the name of your organisation. Select the Security tab. Select the toggle for Enable Multi-Factor Authentication. It will show purple when enabled. Select Save. When any of your users next log in to your organisation, they will be presented with the following screen containing three steps to set up MFA: Step 1: An authenticator app must be installed on the device. Step 2: The QR code must be scanned via the installed authenticator app. Step 3: The six-digit code generated by the authenticator app must be entered in the field on the screen, followed by clicking the Activate button.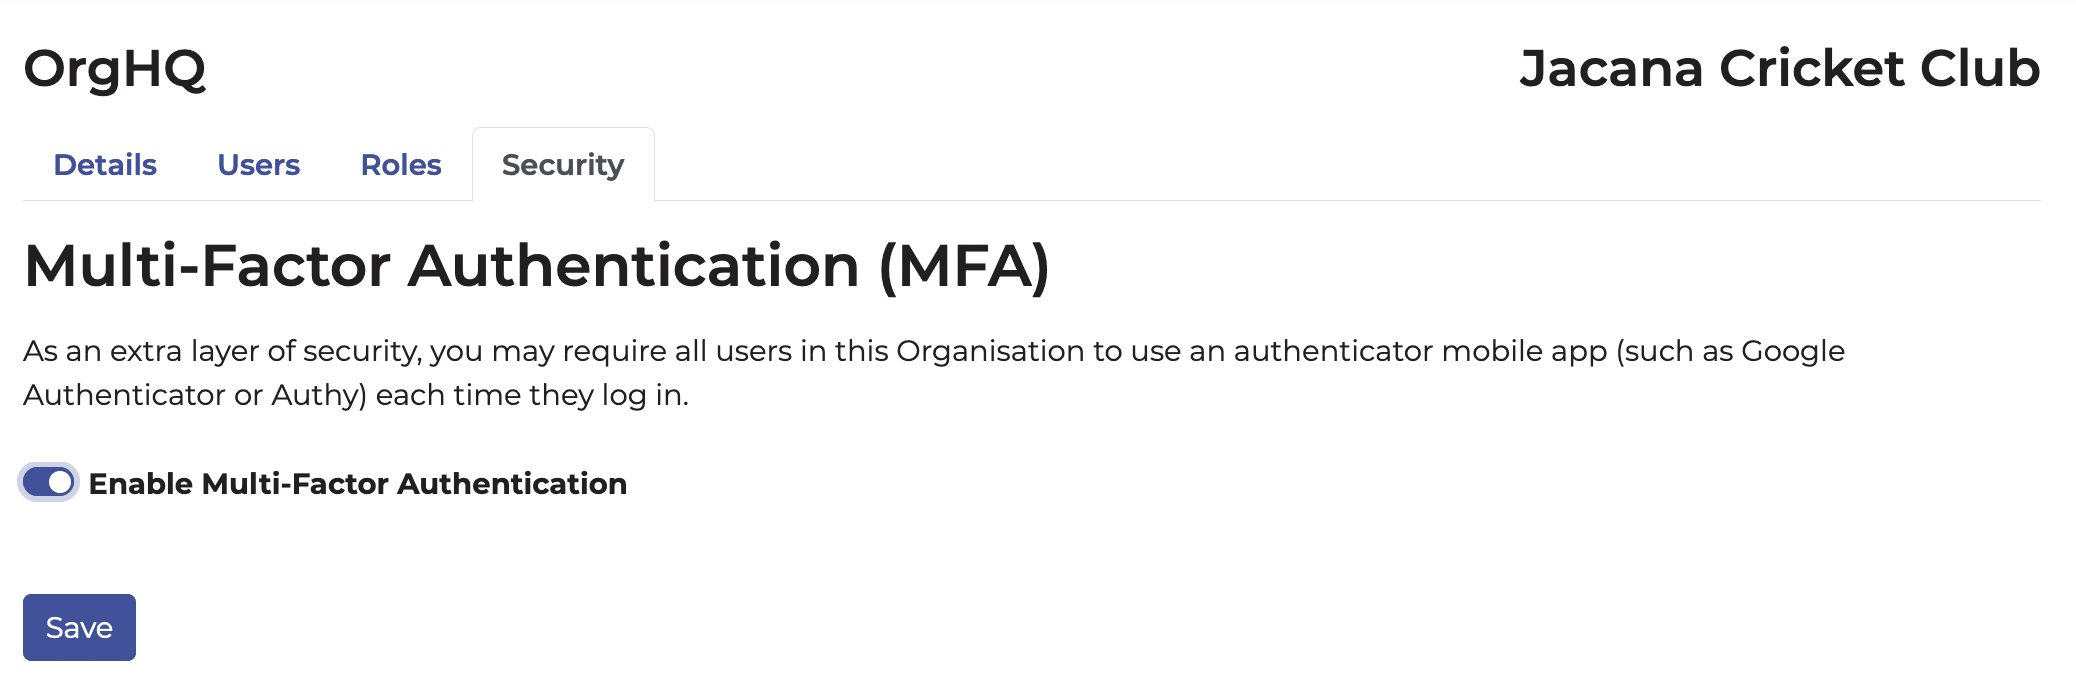
Reset MFA
On occasion, a user may need their multi-factor authentication reset. An account Administrator can reset the multi-factor authentication for a user from the Edit User screen.
Manage organisation details
File storage
Applicants with a SmartyFile profile will have the ability to upload and store files either via their individual My Profile or under any of their organisational profiles via the Files tab. These centrally stored files can then easily be accessed by applicants completing any attachment fields/questions in forms powered by SmartyGrants. Users who have permission to manage an organisation have access to upload and manage the files, whilst those with access to edit and submit submissions can access the files when completing a form. Users can include a document expiry date and are notified as documents are approaching expiration. The maximum individual file size that can be uploaded is 25MB and must be of a file type supported by SmartyGrants. For a full list of file types supported by SmartyGrants, please see here. Individuals and organisations will have a maximum of 2GB of storage available for all stored files. If this storage limit is reached, users will be able to delete any files that are no longer required or whose due date has expired.
Pre-fill information
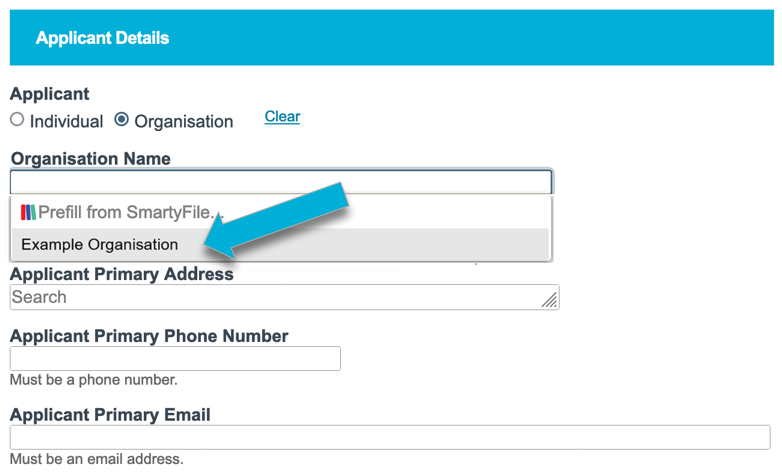
You can pre-fill information from your organisation profile or individual profile when completing a submission through any funder using SmartyGrants. You will have the option to pre-fill the organisation contact information and bank details, if/where requested, when clicking into a pre-fillable field. In order for pre-fill to work, you will first need to ensure there are details saved for your organisation in SmartyFile. Go to My Organisations, and select the name of your organisation. You can select the pencil icon next to fields to add or edit information. When you next log into SmartyGrants to start or continue a submission, as long as you’ve selected that you are applying on behalf of the same organisation shown in SmartyFile, you will see the details available to pre-fill. Note that you can still manually update any field (i.e not use pre-fill) if you want to. Pre-fill organisation details
Manage submission access
Change owner
Administrators have access to change owners on all applications that belong to their organisation. The current application owner also has access to change the owner. An application that is assigned to an organisation can only have the owner changed to administrators or author-level users of the organisation. Who has access to change owner?
Who can become an owner?
To change the owner of an application: Select My Submissions, and locate the submission you wish to change the owner for. Select the hamburger (three lines) menu icon, then select Change owner. This will display a list of users in your SmartyFile Organisation that you can assign the submission to.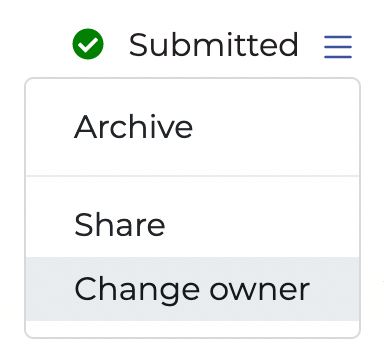
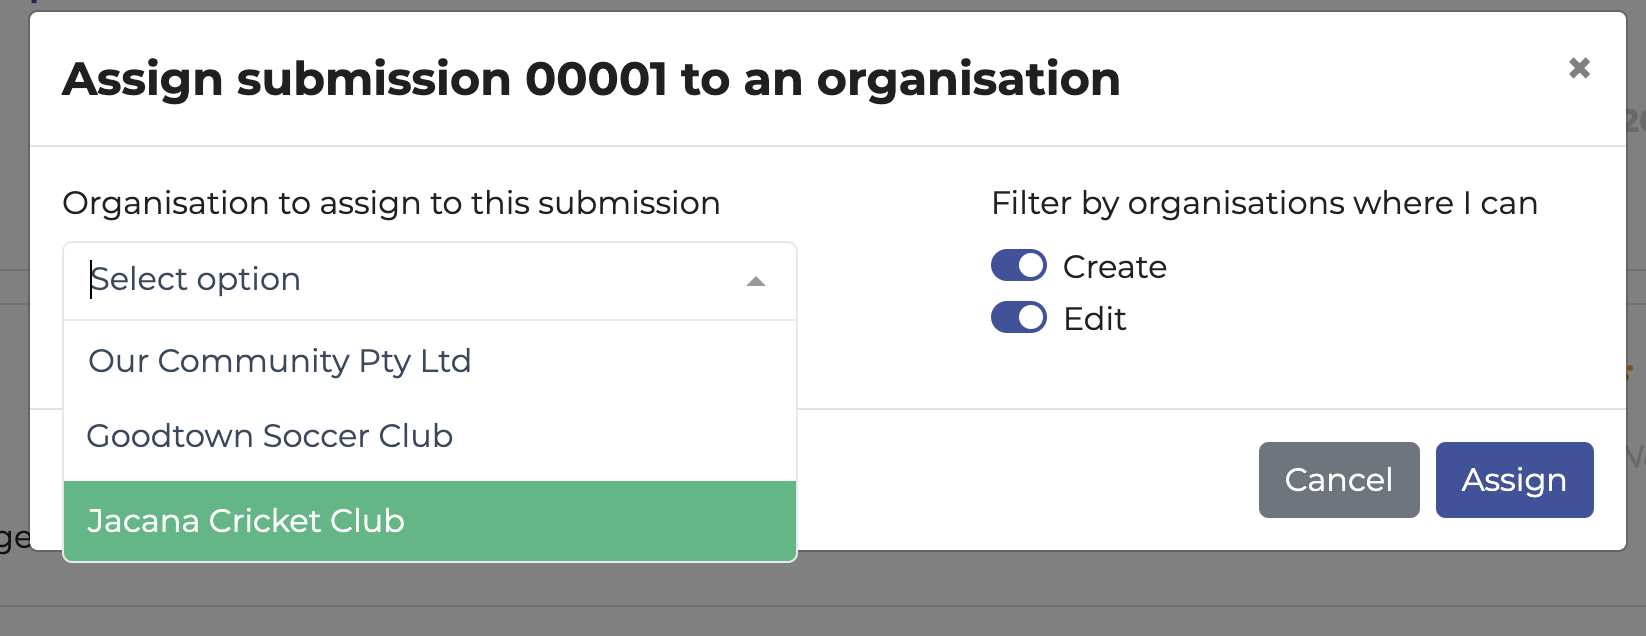
Assign an existing submission to the organisation
Administrators can assign their own existing submissions to their organisations, if they wish to do so.
Select My Submissions, and locate the submission you wish to assign. Then, select the hamburger (three lines) icon, and select Assign to org. Select the organisation to assign to and select Assign to confirm. Note: Only users who have the Create / Start Items permissions are able to Assign to Org an application. User types who have Create / Start Items permission include Administrator and Author by default. Create / Start Items is also a permission that can be assigned to a Custom user. See here for more details on User permissions.
Remove a submission from the organisation
Administrators can remove a submission from their organisation. Select My Submissions, and locate the submission you wish to remove from the organisation. Then, select the hamburger (three lines) icon, and select Remove org. Once a submission has been removed, the Owner becomes the individual user currently in control of that submission.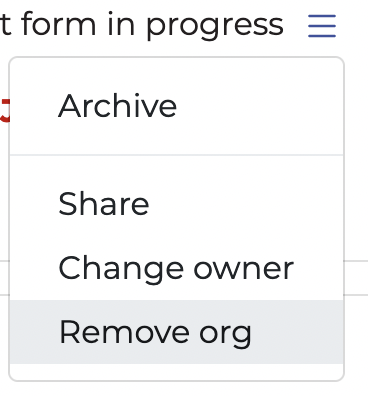
Share a submission
Submissions can only be shared with other users of the organisation that it is assigned to. Administrators, existing application owners, and Authors with access to the submission have the ability to share it with organisation members who have been given the appropriate permissions.
To share a submission:
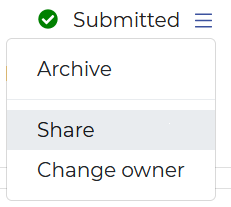
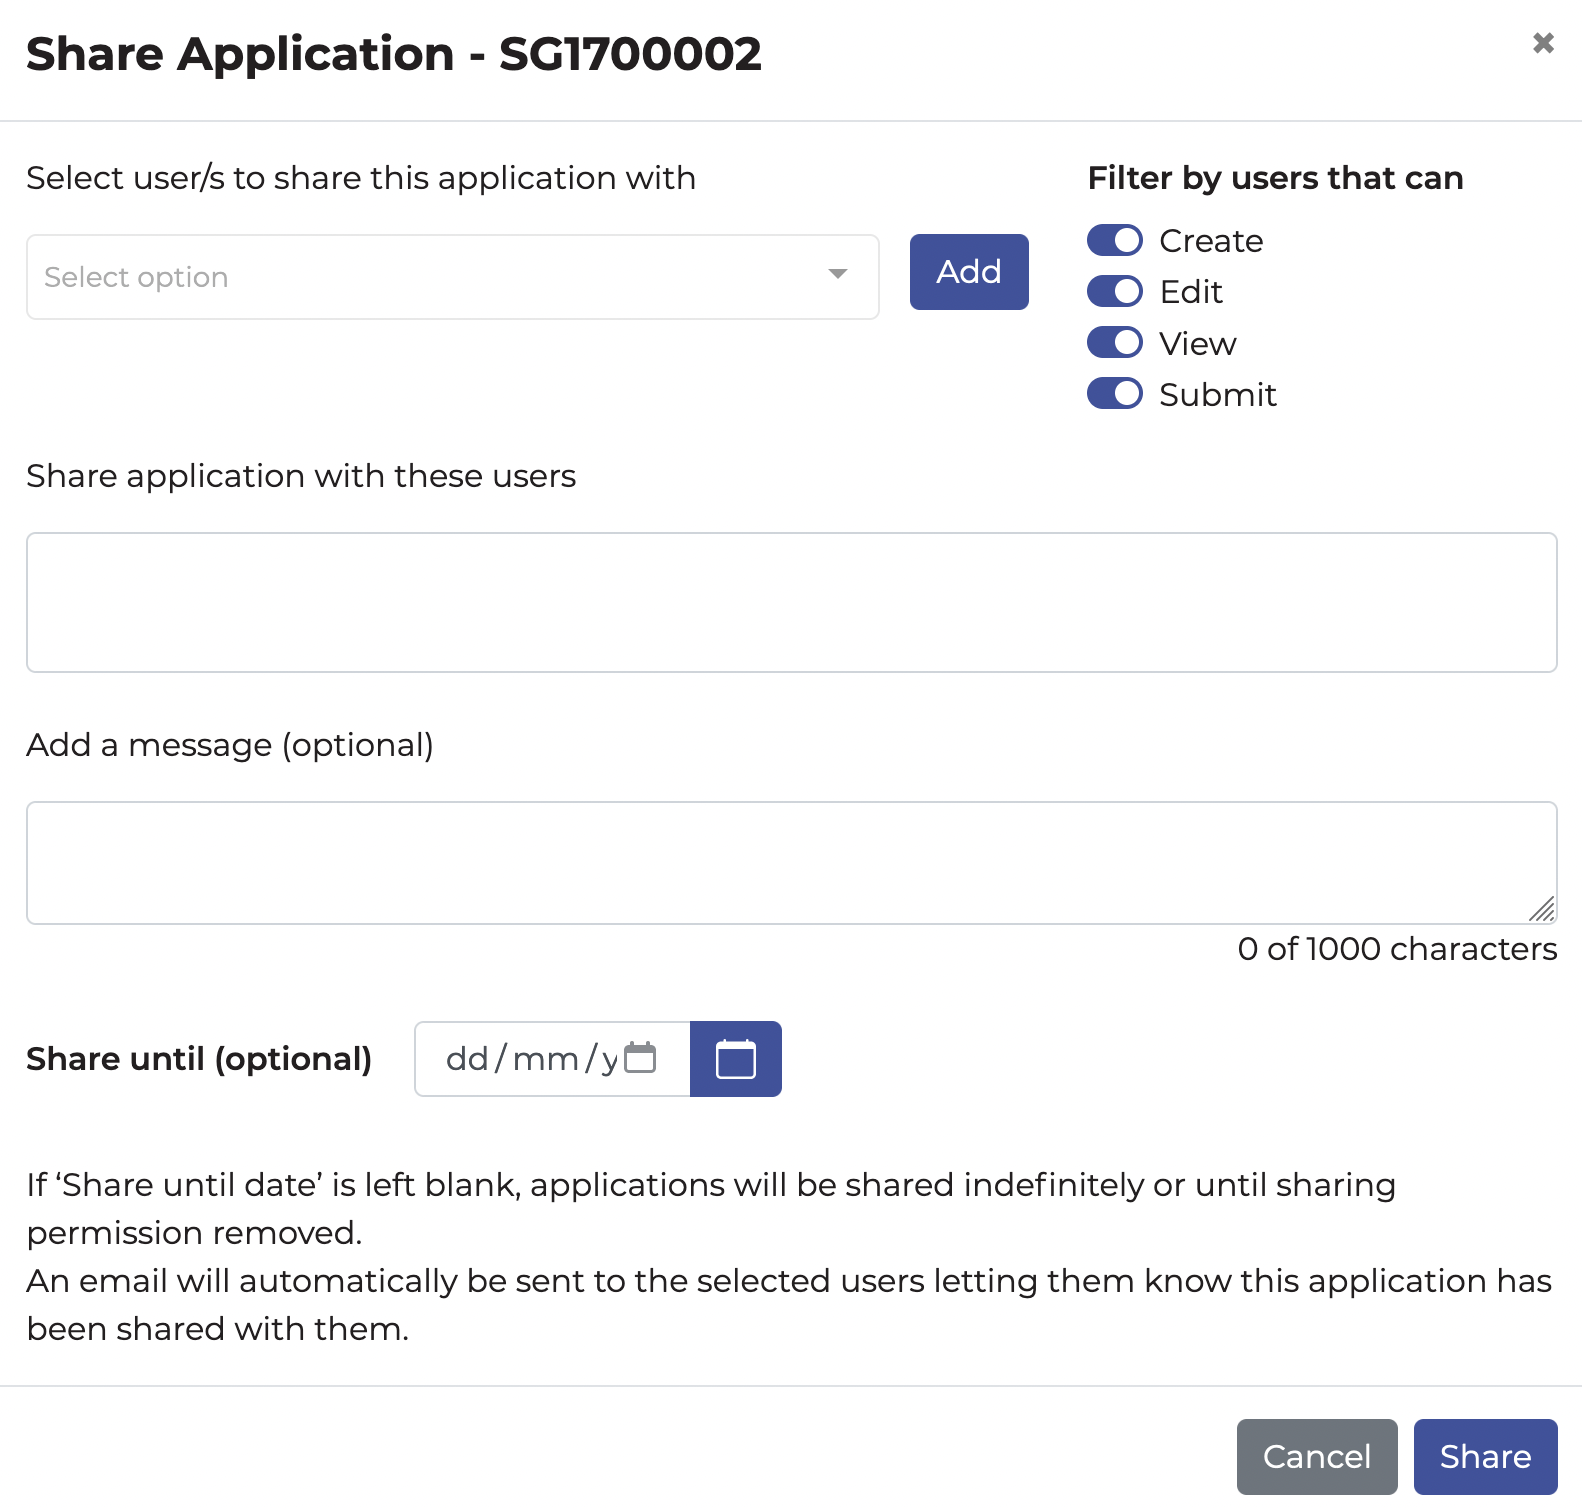
Select My Submissions, and locate the submission you wish to change the owner for. Select the hamburger (three lines) icon, and select Share. This will display a list of organisation users that you can share the submission with. You can enter a message for those users you are sharing with, as well as set an expiration date for the share. If Share until date is left blank, submissions will be shared indefinitely or until sharing permissions are removed. An email will automatically be sent to the selected users, letting them know this application has been shared with them.